We have 3 cherry trees growing in our backyard. They are about 8 years old. The varieties are Bing, Rainier, and Royal Rainier. In previous years, I have found maggots inside some of the cherries. Last year, most of the cherries were infested with maggots, especially on the Royal Rainier. I noticed small flies buzzing around the fruit. I suspected that the flies were spotted wing drosophila (SWD). Most of the cherries were brown and inedible looking from the insect damage. I ended up throwing all of them away.
I was on the verge of removing all of our cherry trees, because I didn’t want to implement a spraying regime. I had the same problem with raspberries in the past. I sprayed the raspberries back then, but it didn’t help. I ended up removing all of my raspberries. But I wasn’t ready to give up on the cherries just yet. It has taken several years for them to reach the size they are and to start producing fruit. Also, removing the cherry trees now would require much more work than removing raspberries.
So this year I tried something different. I have netted the cherry trees with bird netting in past years to keep birds away, but the holes in bird netting are too large to keep out insects. The only type of netting I am aware of that has a mesh fine enough to keep out small flies is mosquito netting. So earlier this year, I bought some mosquito netting.
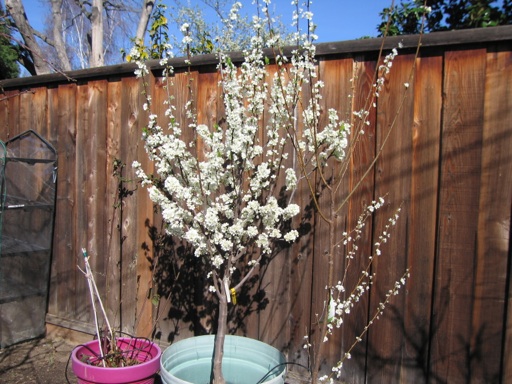
After our cherry trees were out of bloom in mid-April, I wrapped mosquito netting around our Royal Rainier cherry tree and tied it with twine around the trunk. I then rolled any open parts of the netting together and sealed the openings with clothes pins to keep insects from flying or crawling in. It helped that I have pruned this tree to keep it under 8 feet tall. I didn’t bother to net the other two cherry trees, because they set very few cherries this year. Here is what our tree looks like netted.
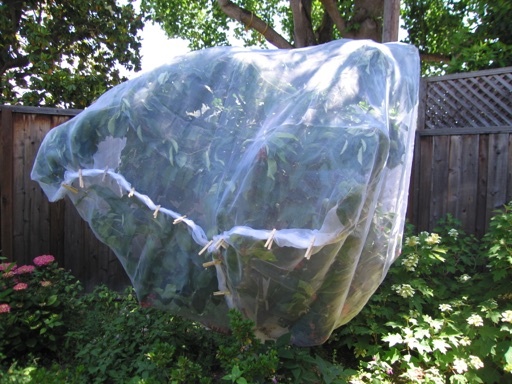
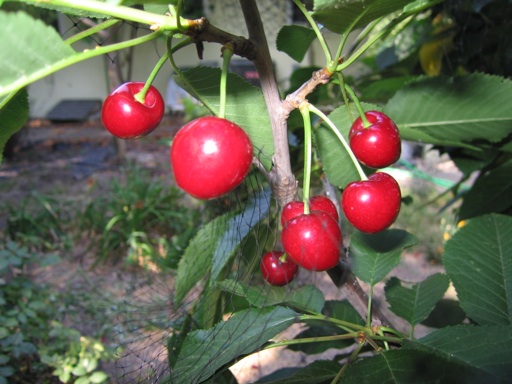
Last weekend, I harvested most of the Royal Rainier cherry crop. Here’s what they looked like inside the tree.
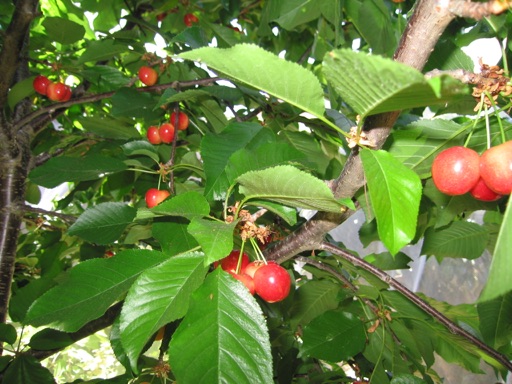
And here is what they looked like after harvest.
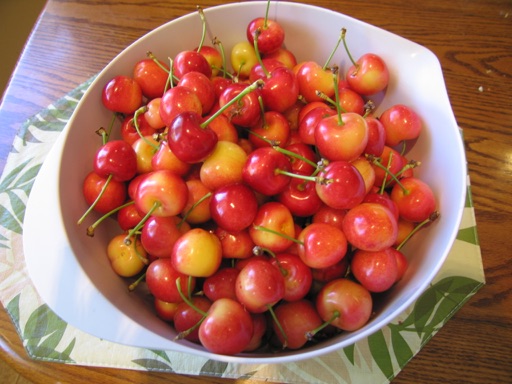
They look beautiful and taste amazing. Not one of the cherries appears to have been touched by birds or insects. We have eaten most of them already, and we haven’t found maggots in any of them. The netting also allowed me to leave the cherries on the tree long enough to fully ripen.
Netting a tree is extra work, and it is probably not practical for large trees over 10-12 feet tall. However, I think it was worth the effort. Mosquito netting is easier to work with than bird netting, because it doesn’t get caught on things as easily. And it keeps out all kinds of pests including insects, birds, and squirrels.
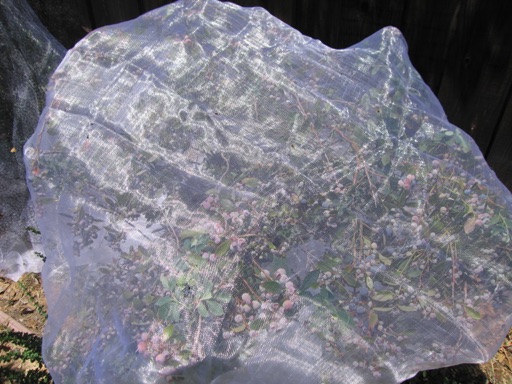
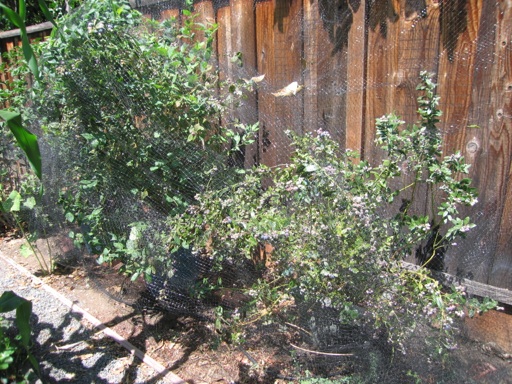
In fact, I am so happy with the results of the mosquito netting that I am using it to cover some of my other fruits and vegetables. For example, I am using it to cover broccoli and cauliflower to keep out cabbage moths and aphids. I am also using it to cover my blueberry bushes as shown below. Even though the netting has a fine mesh, it appears to be letting in enough sunlight for these plants to remain healthy and grow.
June 08 2017 | Blueberries and Cherries | Comments Off on Mosquito Netting
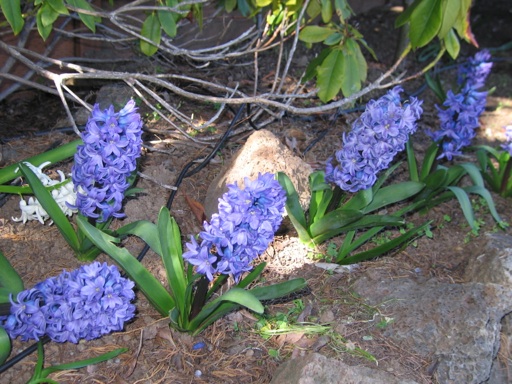
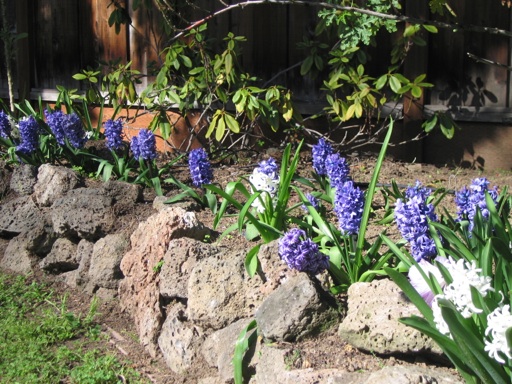
The blue hyacinths we planted last fall are already in bloom. Weeds were nearly obscuring them until I weeded around them a few weeks ago. Now they are stand outs in our front yard.
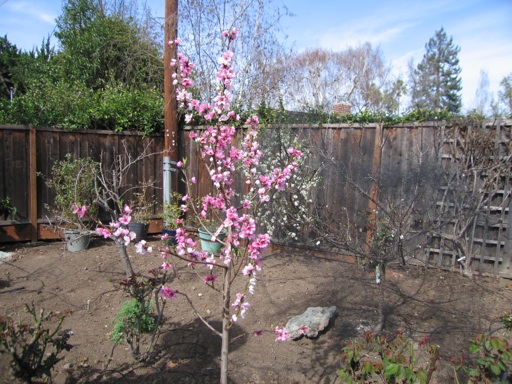
Some of our fruit trees are already in bloom this month. Below is a new arctic blaze nectarine tree I bought last year that is now blooming for the first time. My previous attempts at growing white nectarines ended in failure when the entire crop cracked and rotted, apparently from over watering. Subsequent under watering led to dead trees. This time, I am growing one in a pot to ensure better drainage.
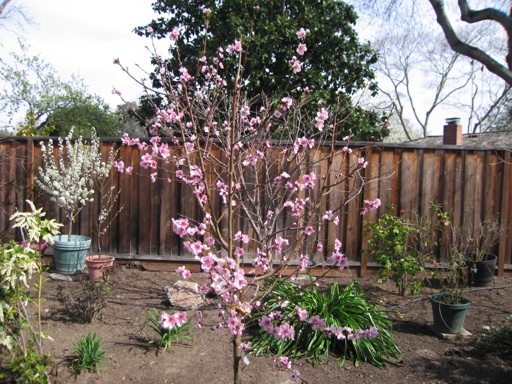
Below is our new loring peach tree, also in bloom for the first time. I bought it last year after our O’Henry peach died a few years ago.
This flavor king pluot tree is another new fruit tree that I bought last year. I am also growing it in a pot due to lack of space (too many fruit trees). It bloomed last year, but it did not set any fruit – possibly a pollination issue. Now, I have a super-pollinator (santa rosa plum) growing in a pot to the right of it.
Our multi-grafted pluot tree is also in bloom (below). One of the grafts is also flavor king. Flavor king is our favorite pluot, perhaps my favorite fruit, which is the reason I bought one tree that only has a flavor king graft on it.
February 26 2016 | Hyacinths and Peaches/Nectarines and Pluots | Comments Off on Early Blooms
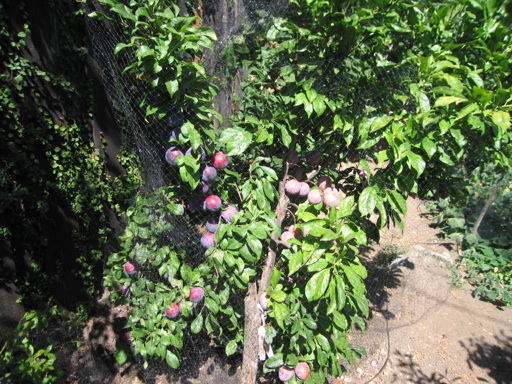
Our multi-grafted Japanese plum tree is full of plums right now. It’s a very small tree, about 5 feet tall and 4 feet wide. But it has over 100 plums on it. It has the most densely packed fruit of any fruit tree we have. It would benefit from thinning, because the branches can break under the weight of the fruit, but I didn’t bother to thin this year, because the fruit set was not as heavy as last year. The main grafts are the varieties Elephant heart and Laroda, which is the dark purple fruit in the picture below.
The tree also has a graft of Nubiana, which is very small and doesn’t grow much, and Beauty. Most of the Beauty graft broke off two years ago under the weight of a heavy load of fruit. I cut off the remaining branches of Beauty, because I didn’t care for its flavor. The Elephant Heart and Laroda grafts are not self-fruitful, but both have managed to set a lot of fruit two seasons in a row without pollen from Beauty. Pollen from our pluot tree and a neighbor’s plum have probably helped. The Beauty graft was huge and on the verge of taking over the tree. The Elephant Heart and Laroda grafts have grown a lot since Beauty has been gone.
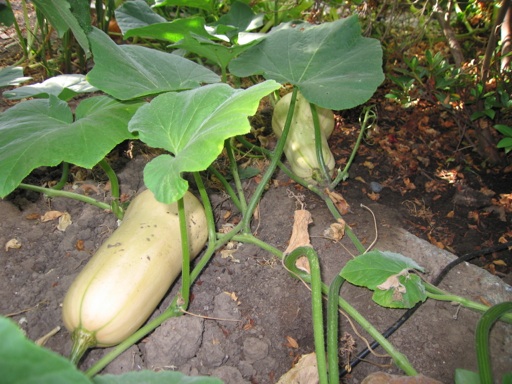
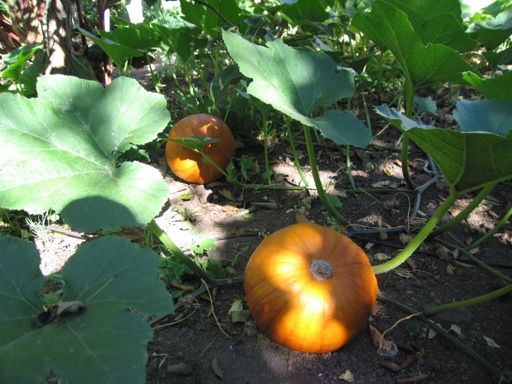
I really enjoy growing sugar pie pumpkins and butternut squash. I have found that they are both easy to grow from seed as long as they get regular water. I planted several groups of seeds last March. The vines are very long now and have set many fruits, even though I haven’t fertilized them. The vines can take up a lot of space, which is why I planted the seeds where the vines can grow in between our fruit trees. I planted them directly in the ground, not in our raised beds, because the vines would just grow out of the beds and across our paths between the beds. Some of the pumpkins have even grown roots directly from the vines into the ground.
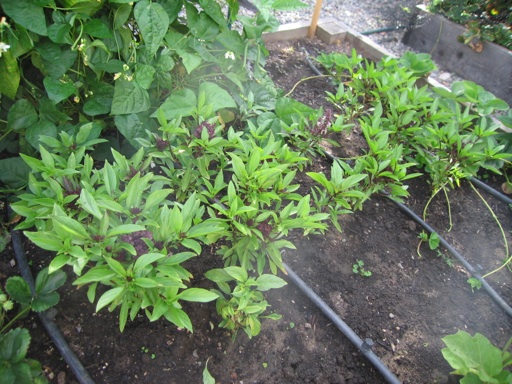
We are also growing Siam Queen (Thai) basil this year. I planted the seeds in pots in our mini-greenhouse in April and transplanted the seedlings into one of our raised beds in May. They only grow in warm weather, and it can get cold in April here. The plants grew slowly at first, but they are now starting to grow more rapidly. Their leaves have a strong scent that is similar to licorice, and their flowers are an attractive purple color. Also, they don’t seem to attract insects.
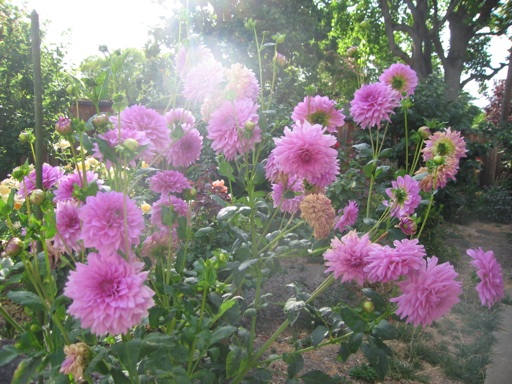
Our purple Dahlias have been full of flowers for several weeks. We are also growing them in raised beds where they get plenty of water and rich composted soil. Unfortunately, they are already getting mildew on their leaves, which happens every year around this time.
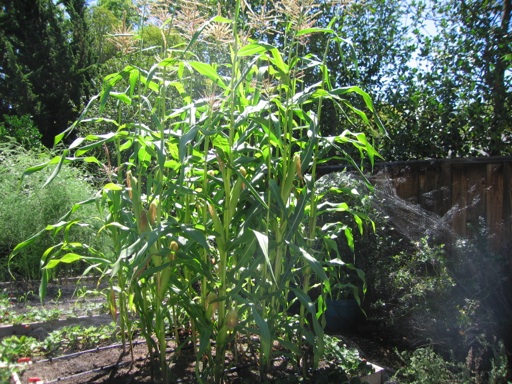
I planted corn seeds in mid-March this year, which is the earliest I have ever planted them. We almost never get frost here after March 1. I planted the peaches and cream variety, and ended up with about 18 plants. I always plant at least 15 corn seeds in a planting to ensure proper pollination. I started harvesting corn ears the first week of this month. They were very tasty.

I harvested some of the last ears today. Several of the stalks had two ears, and a few stalks grew outshoots that themselves grew an additional ear of corn. I have more corn in another bed that I planted in June. They should be ready to harvest in October.
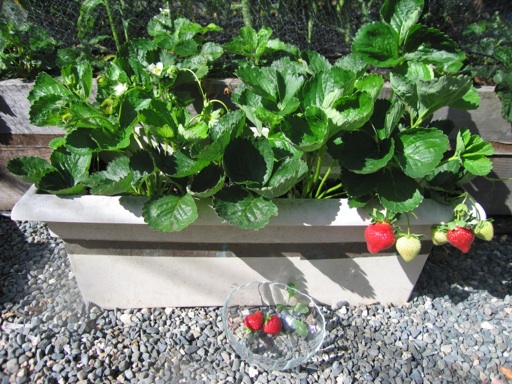
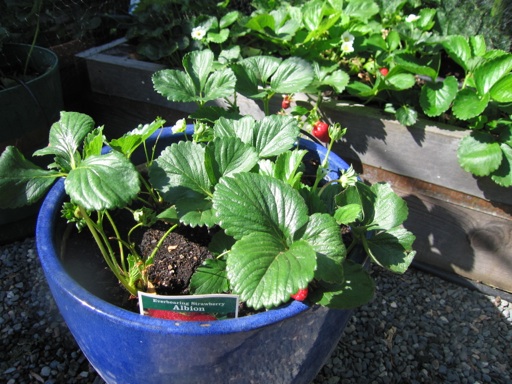
I planted Albion strawberries in pots with potting soil in May. I had not grown this variety previously. I have been picking strawberries from the Albion plants for over a month now, and they have exceeded my expectations. They have been continuously producing very sweet and large berries. They are much sweeter than Chandler, which are on the tart side in our yard. I think I will be planting more Albion strawberries in the future. So far the Albion plants have not produced many runners, unlike our Sequoia strawberries, which are prolifically producing runners right now.

July 26 2014 | Basil and Corn and Dahlias and Plums and Pumpkin and Squash and Strawberries | Comments Off on Mid-summer post
Our strawberry harvest started the second week of April, which is very early for our area. But, their growth and fruit production started to slow down around mid-May. At that point, I realized that our strawberry plants weren’t getting enough water from my automatic sprayers. For the past few weeks, I’ve been watering them by hand nearly everyday, and they seem to be responding to the extra water.
Our strawberry plants are now growing again and getting new flowers. In the past, I’ve thought that fertilizing regularly was the key to getting lots of strawberries for many months. But now I’m realizing, they just need lots of water, preferably a daily soaking.
Below is a picture of some of our Chandler strawberries growing in a pot. Chandler is one of my favorite varieties, because it produces large strawberries on strong stems. I have also been growing Sequoia strawberries for years.
Last week, I planted some everbearing Albion strawberries, which I hope will produce berries in mid and late summer after the June bearing varieties are finished. This is a variety that I haven’t grown before.
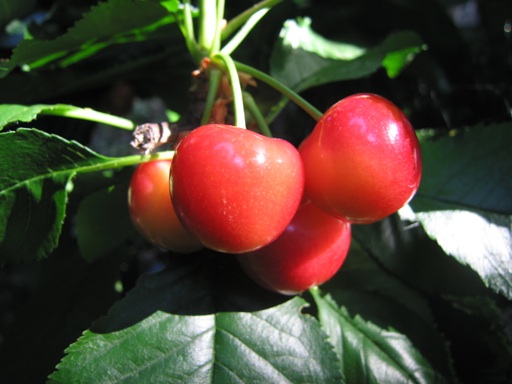
I’ve also been harvesting cherries from our Rainier and Royal Rainier cherry trees this past week. The Royal Rainer cherries are very sweet and mild (picture below). Our Royal Rainier tree has produced cherries nearly every year we’ve had it, which is about 5 years now. It has consistently produced more fruit than our other two cherry trees, even though it is smaller than our other cherry trees.
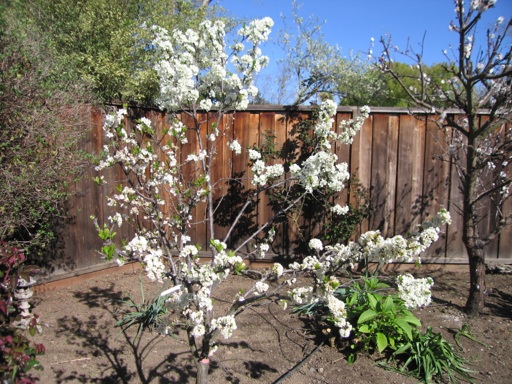
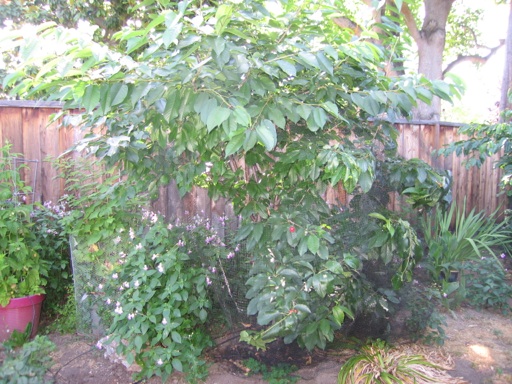
Our Rainer cherries are more tart, even though the tree is a year older than the Royal Rainer and visually the cherries look very ripe. Also, the tree doesn’t have many cherries, and this is the first year it has had more than 2 cherries. However, our Rainier tree is a very vigorous grower. It has grown to about eight feet tall and as wide despite regular pruning as shown below.
Our third cherry tree is a Bing, which also has its first significant crop of cherries this year. Its fruit is just starting to get a deep red color. I’m leaving the fruit on the tree, until they get nearly black. And of course, I have bird netting on all three trees. So far, it has prevented even a single cherry from being pecked at, as far as I can tell.
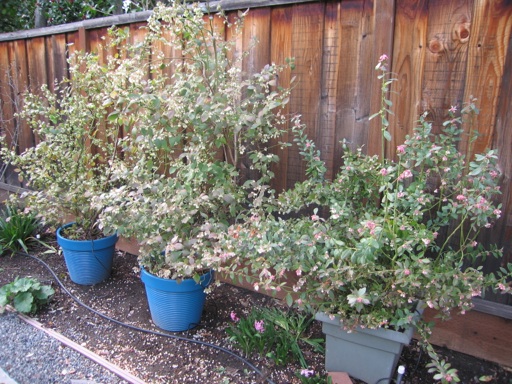
Our blueberry harvest also started the second week of April, which is about a month earlier than usual. I was picking blueberries from our Misty plant in April and early May. Moving it to a sunnier location and the warm weather we had this spring seem to be the reasons for the early harvest. I also currently have the blueberry varieties Southmoon, Sunshine Blue, Jubilee, Reveille, Sharpblue, and O’Neal. These others starting ripening around mid-May, and they still each have many underripe berries left on their branches. I have all 7 of our blueberries in pots, and they seem to be thriving in them as long as I keep them well hydrated. They definitely dry out faster in the pots than in the ground. Below is a photo of a few of the blueberries that are growing next to a fence, which makes it easier to net them.
And here is what the same plants looked like in bloom on March 2.
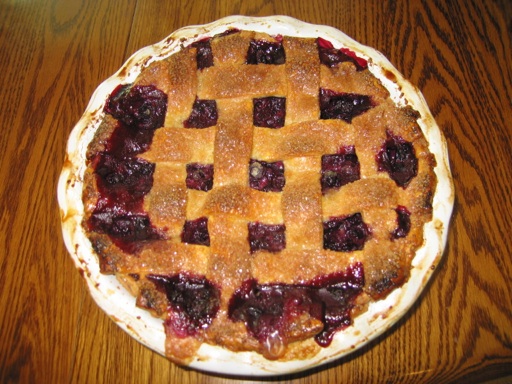
I harvested so many blueberries this week that I had enough to make a blueberry pie and still had some left over.
June 06 2014 | Blueberries and Cherries and Strawberries | Comments Off on Berries and Cherries
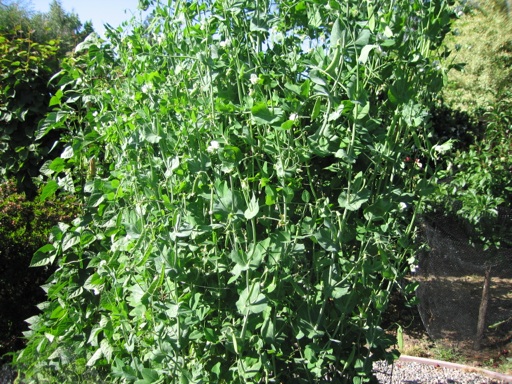
On March 1st of this year, I planted sugar snap pea seeds in one of our raised beds next to a wire trellis. All of the seeds sprouted within a week or two and grew rapidly after that. The pea vines are now over 6 feet tall (taller than the trellis) and are still growing. There are so many vines (I planted too many seeds) that wind blew them forward off the trellis a few weeks ago. I tied them back onto the trellis with string. I planted three rows of seeds at about a 3 inch spacing. Next time, I will plant only two rows of seeds spaced farther apart.

I am growing peas on the same trellis as blue lake green beans, which I have been growing for years. When I have planted green beans along the entire 6 foot long trellis in the past, the plants produced way too many beans to eat. So this year I planted half as many beans and planted peas next to the beans. The peas are out growing the beans and starting to crowd them.
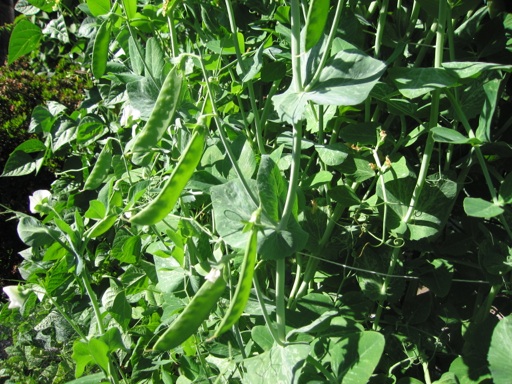
Our peas are now full of pods. I just began picking them last week. This is the first time I have grown peas, and I am wondering why I didn’t before. They are easy to grow, produce lots of sweet edible pea pods early in the growing season, and are good sources of vitamins A and K and especially vitamin C.
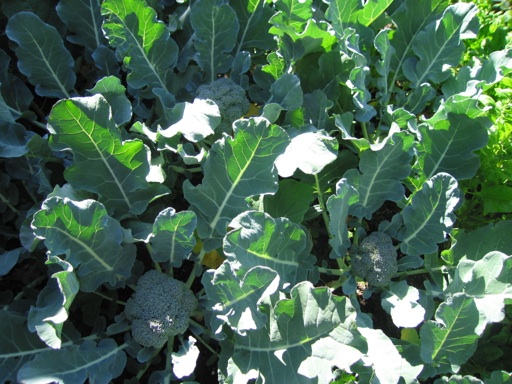
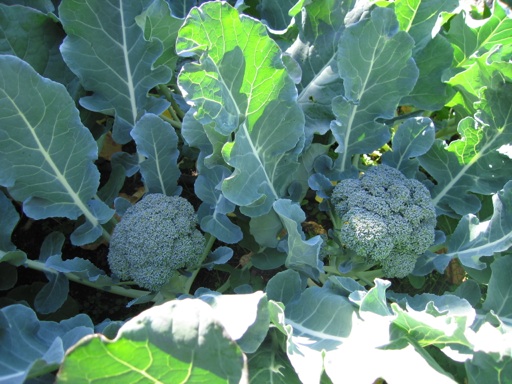
Our broccoli plants are large this year. I grew them by seed rather than buying nursery transplants, as I mentioned in a previous post. I have watered them regularly and applied water soluble fertilizer to them about once a week, which seems to have made a difference. Although right now, the plants are growing together and crowding each other out, which is probably limiting the size of the plants and the crowns. Next time, I may space them farther apart. 12 inches apart is not quite enough for maximum growth. Planting of broccoli seeds at just the right time is critical to getting large crowns. I think I got the timing right. Although, we’ve had two heat waves this month into the low 90s F, which is not ideal for broccoli growth. Our broccoli plants are forming crowns now. I just harvested the first crown today. These crowns in the lower photo look nearly ready to cut.
I also covered our broccoli plants with two layers of bird netting which helped to keep the snails away (they get stuck in it) and these white moths that want to lay larvae (worms) on the broccoli. The moths also can’t get through the netting.
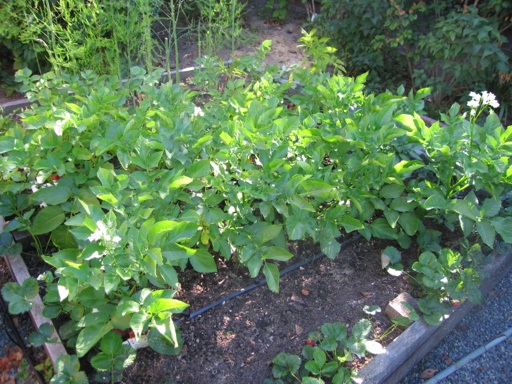
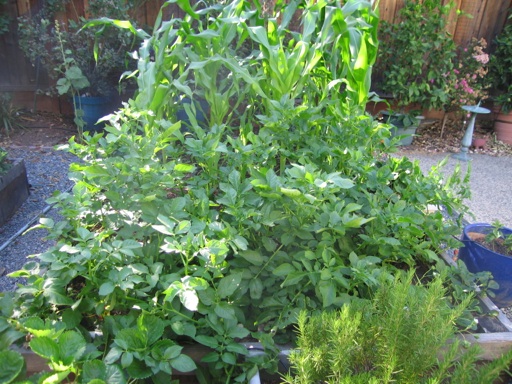
I have had mixed results with potatoes this year. I planted russet and yukon gold potatoes in Feb. and March. I have been planting potatoes in the same raised bed for years. Those potato plants (above photo) have not grown nearly as much as the potato plants that are growing in a different raised bed (below photo with corn in the back) where I had never planted potatoes until this year. It seems to be an example of the importance of rotating crops from year to year.
I sowed the corn seeds in mid-March, which is the earliest I have ever planted it. I sowed Peaches and Cream corn seeds, which is my favorite variety for taste. The seeds sprouted and grew about as quickly as in past years when I had always sowed the seeds in April. I am expecting to harvest corn by July 1, and then rip out these plants for a second planting of corn seeds to be harvested in late October. Home grown corn is so good, one harvest a year just isn’t enough!
May 21 2014 | Broccoli and Corn and Peas and Potatoes | Comments Off on Cool Season Crops
« Prev - Next »